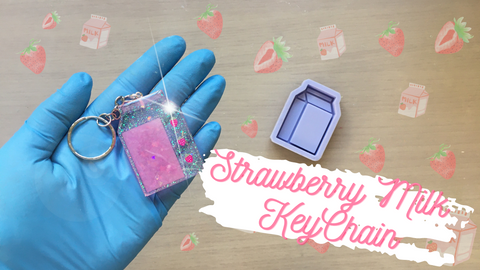
Resin Tutorial: Strawberry Milk Key chain
For this project you will need the following supplies:
- mixing cups
- stir sticks
- epoxy resin
- 2" Milk Carton Shaker Silicone Mold
- iridescent white fine glitter
- iridescent white cellophane flakes
- iridescent pink fine glitter: 1 dark shade and 2 lighter shades
- pink mica powder
- strawberry shaped fimo slices
- eye screw
- jump ring
- key ring with chain
A video tutorial is also available on my YouTube channel showing all the steps explained in this tutorial:
Instructions
Step 1: Prepare a batch of resin as per manufacturer's instructions.
Step 2: To the resin add iridescent white fine glitter, iridescent white cellophane flakes and the darker shade of iridescent pink fine glitter. Mix well.


Step 3: Pour the resin mix into the silicone mold, filling the mold all the way.

Step 4: Wait for the resin to cure.
Step 5: Remove the cured resin from the silicone mold.

Step 6: Prepare another a batch of resin as per manufacturer's instructions.
Step 7: Pour some of the resin into a separate cup. To this cup, add pink mica powder, iridescent pink fine glitter and iridescent white cellophane flakes. Mix well.


Step 8: Pour the pink resin mix into the largest section of the milk carton. Make sure not to overfill it.

Step 9: Using some of the leftover clear resin add a small amount to the side of the carton. Place the fimo strawberry slices.

Step 10: Using a toothpick, pour some of the pink resin mix at the top most section of the milk carton.

Step 11: Wait for the resin to cure.

When the resin has finished curing, it's time to pour the last layer and finish the resin piece by doming it.
Step 12: Mix a batch of resin as per manufacturer's instructions.
Step 13: Pour the resin slowly on top of the resin piece and apply an even layer to dome it. Use your mixing stick to gently move the resin towards the edges.

Step 14: Wait for the resin to cure. Make sure that you place it to cure on a level surface.

Step 15: Drill a hole at the top.

Step 16: Place the eye screw into the hole and add the jump ring and key chain.
