How to make the perfect Bookish Bookmarks | Resin Tutorial

How to make the perfect Bookish Bookmarks | Resin Tutorial
- epoxy resin
- mixing cups
- stir sticks
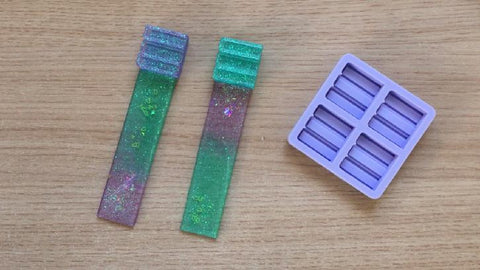
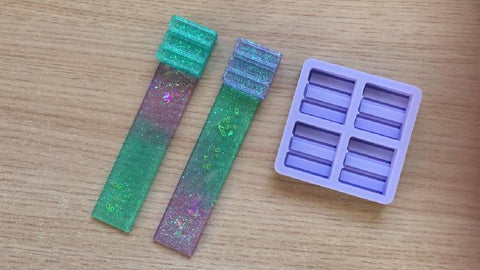
- stack of books silicone mold
- bookmark silicone mold
- green pearl resin pigment
- violet pearl resin pigment
- iridescent white fine glitter
- iridescent white cellophane flakes
- iridescent green hollow heart confetti
You can watch the video tutorial on my YouTube channel ⬇
Instructions
Step 1: Mix a batch of epoxy resin as per manufacturer's instructions.
Step 2: Divide the resin into 2 mixing cups.
Step 3: To one of the mixing cups add green pigment and white fine glitter.
Step 4: To the other mixing cup add violet pigment and white fine glitter.
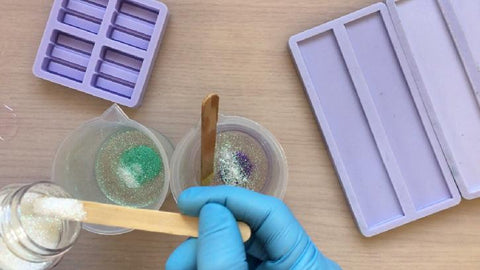
Step 5: Mix each cup well making to sure to evenly distribute the pigment throughout the resin.
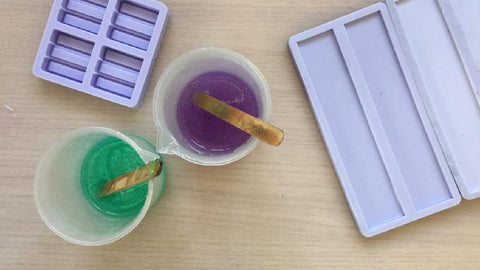
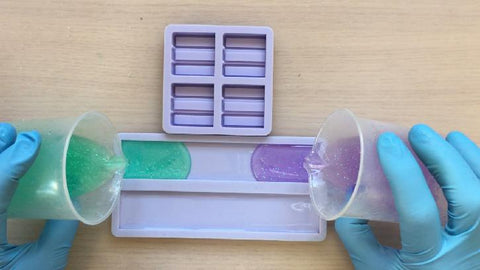
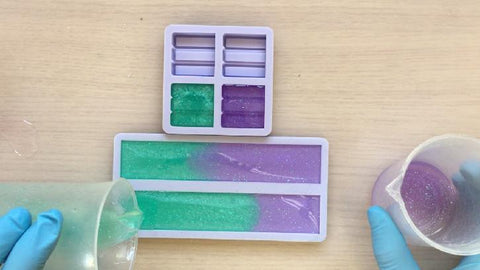
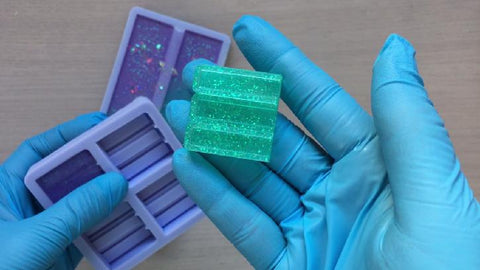
Step 6: Pour the resin into the molds.
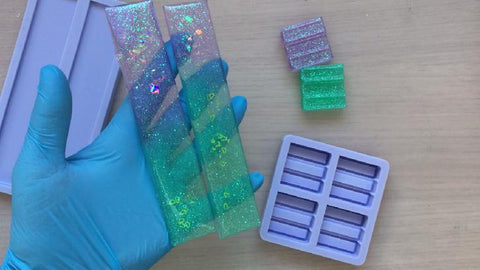
For the bookmarks pour both colors from opposite ends.
For the stack of books I opted to make them in a single color, but you can choose to use both colors.
Step 7: Add cellophane flakes on to the purple part of the bookmarks.
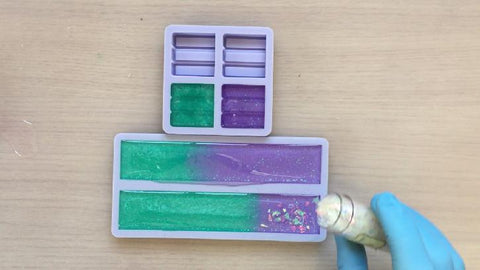
Step 8: Add the heart confetti to the green part of the bookmarks.
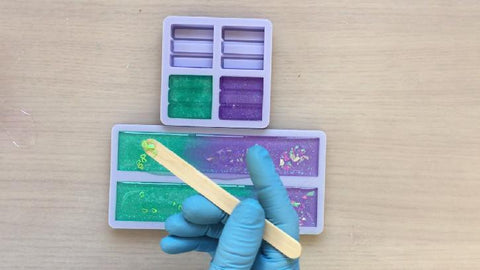
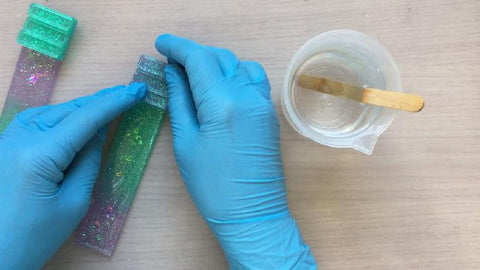
Step 9: Using a silicone tool or a stir stick, gently poke the cellophane flakes and confetti to embed them into the resin.
Step 10: Wait for the resin to cure.
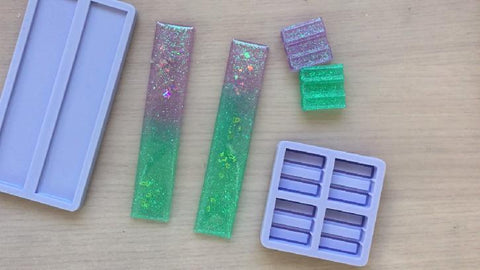
Step 11: When the resin has finished curing, de-mold the pieces from the silicone molds.
Step 12: If necessary, clean the edges of the pieces from any over-spills.
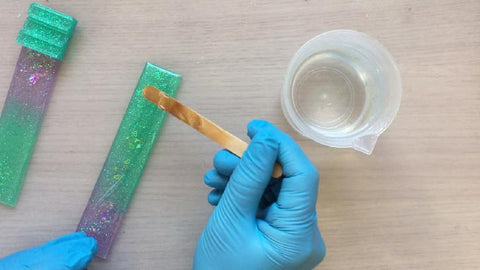
Step 13: Mix a batch of resin as per manufacturer's instructions.
Step 14: Pour a tiny amount of resin at one end of the bookmark and then place the stack of books charm. Position it well and wait for the resin to cure. Repeat Step 14 for the other bookmark.
When the resin has finished curing, the bookmarks are complete. You can use glue for the last step if you need to speed up the process, however I suggest using resin as I have found it to be a stronger and a longer lasting adhesive.