Easy Resin Tutorial: Winnie the Pooh Epoxy Resin Charm
Share
An easy step by step tutorial for making a Winnie the Pooh charm with epoxy resin.

For this project you will need the following supplies:
- epoxy resin
- mixing cups & sticks
- 1.5 inch Circle Shaker Silicone Mold
- Winnie the Pooh sticker
- alcohol inks: Mango & Cream
- iridescent orange glitter
- iridescent orange hollow heart confetti

Step 1: Gather all the supplies needed
Step 2: Prepare your epoxy resin as per instructions of the resin brand that you are using.
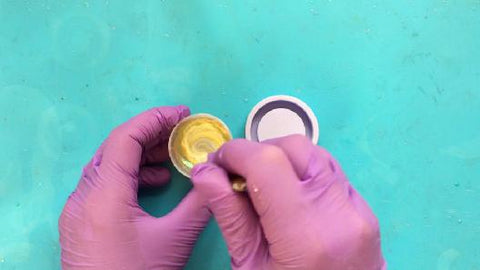
Step 3: In a small mixing cup add the heart confetti, mango alcohol ink, cream alcohol ink, and glitter powder.
Step 4: Mix well for at-least 1-2 minutes to ensure that the ink has been thoroughly and evenly distributed.


Step 5: Pour the colored resin mixture into the silicone mold.

Step 6: Wait for the resin to cure.
Step 7: De-mold the resin charm from the silicone mold.

Step 8: If needed, clean the edges of the back of your charm by cutting off any excess resin or by filing it.
Step 9: Remove the sticker backing (if using a sticker flake), and stick on your sticker onto the resin charm. Press the sticker evenly all around using your finger to remove any trapped air bubbles and also to make sure that the sticker has stuck onto the charm.

Step 10: Prepare another batch of resin.
Step 11: Pour the clear resin onto your charm. Start from the middle section and pour slowly to avoid spillage or over-pouring.
Pour until the middle has been completely filled and continue pouring bit by bit until the resin goes to the outer edges of the circle and a dome has formed.

Step 12: Wait for the resin to cure.
Step 13: Your resin charm is complete and you can stick the charm onto a phone grip, or drill a hole and turn it into a key chain or pendant. It would also make a wonderful magnet.

Watch the video tutorial here:
