Resin Tutorial: Zodiac Key Chains
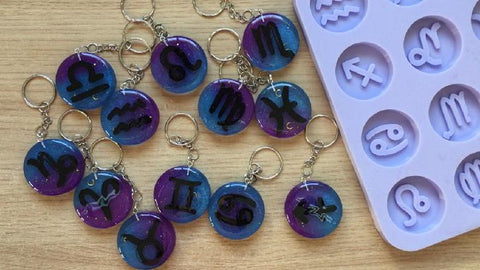
This resin tutorial is easy and beginner friendly. We will be making zodiac key chains with a galactic inspired color scheme. The charm will be created in 2 pours - a clear resin layer is first applied, and then to finish a colored layer is applied. The symbols are then painted to highlight the detail, and finally the pieces are domed. Continue reading for step by step instructions.
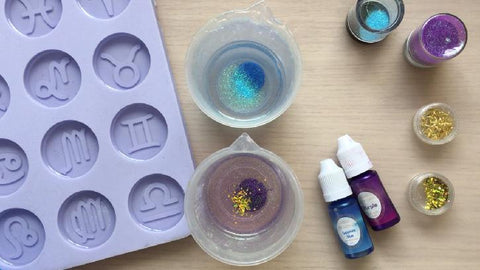
For this project you will need the following craft supplies:
- mixing cups and sticks
- epoxy resin
- zodiac signs silicone mold
- sapphire blue pearl resin pigment
- purple pearl resin pigment
- iridescent purple fine glitter
- iridescent blue fine glitter
- holographic gold chunky glitter
- gold moons
- black acrylic paint
- jump ring x 12
- eye screw x 12
- key ring + chain x 12
To go along with the step by step instructions found in this article, a video tutorial showing how to make this project is also available on my YouTube channel:
Instructions
Step 1: Prepare resin as per manufacturer's instructions.
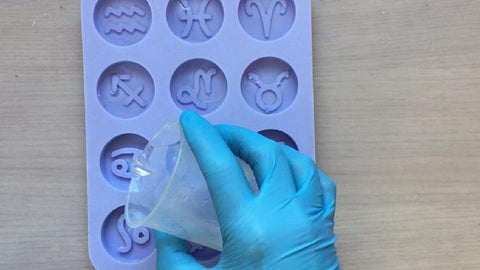
Step 2: Pour the clear resin into the silicone mold. Only fill each cavity half way.
Step 3: Wait for the resin to cure.
Step 4: Prepare resin as per manufacturer's instructions.
Step 5: Divide the resin into two mixing cups.
Step 6: To one cup add blue resin pigment and blue glitter.
Step 7: To the other cup add purple resin pigment, purple glitter and gold glitter.
Step 8: Mix each cup well making sure to thoroughly and evenly distribute the pigments into the resin.

Step 9: Pour the colored resin mixtures into the silicone mold. Fill all of the mold at this stage.
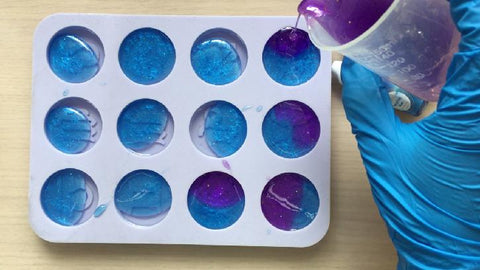
Step 10: Add the gold moons and push them down using a toothpick or mixing stick.
Step 11: Wait for the resin to cure.
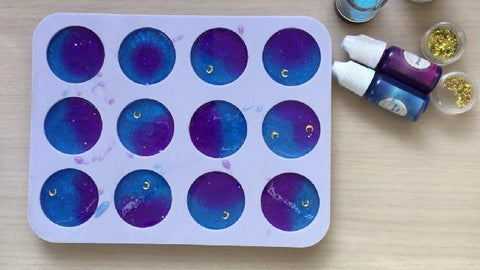
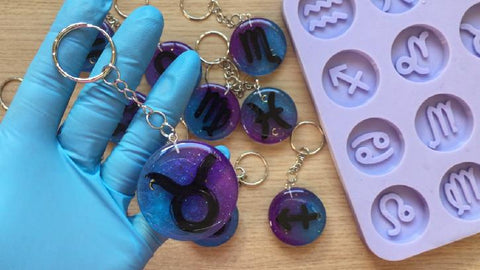
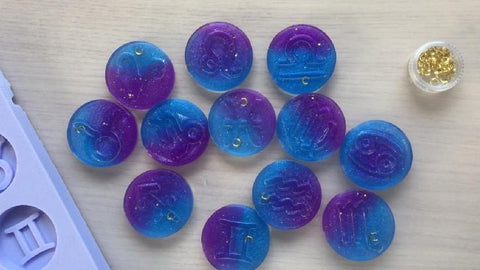
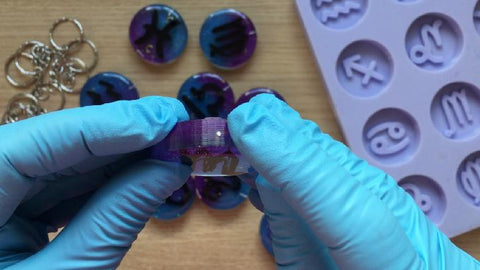
Step 12: When the resin has fully cured, de-mold all of the resin pieces from the silicone mold.
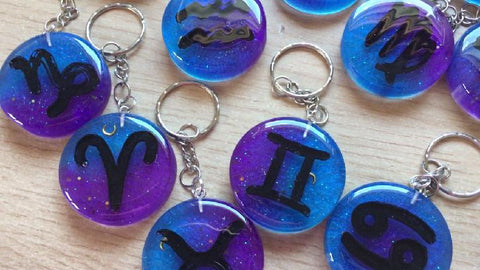
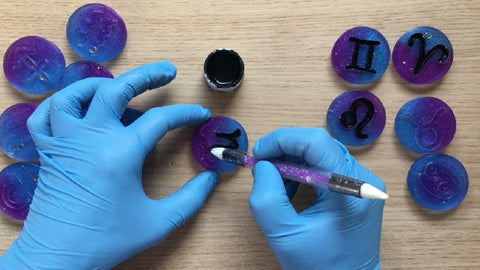
Step 13: Using black acrylic paint, paint the zodiac symbols of each charm.
Step 14: Wait for the paint to fully dry.
Step 15: Prepare resin as per manufacturer's instructions.
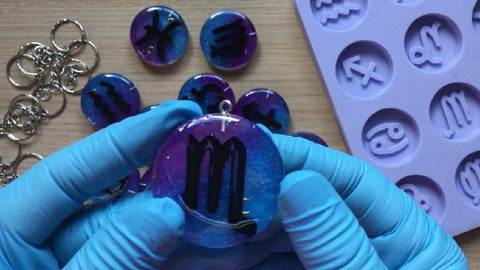
Step 16: Pour a small amount of resin on top of the charm. Using a stir stick, gently distribute the resin whilst also moving it towards the edges. Make sure that you work on a level work space. Repeat this process for each charm.
Step 17: Wait for the resin to cure.

Now the charms are nice and shiny and ready to be turned into key chains.

Step 18: Drill a hole at the top of each charm.
Step 19: Add the eye screw into the drilled hole.
Step 20: Add the jump ring and key ring with chain to the eye screw.
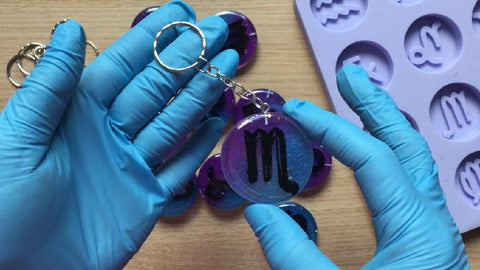
Step 21: Repeat steps 19 and 20 for each charm.