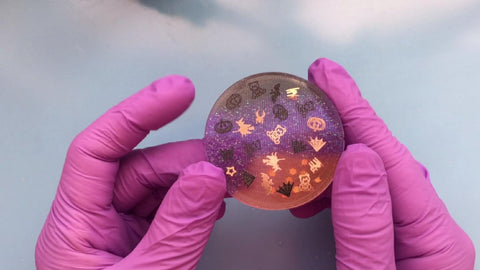
DIY Halloween resin charm tutorial
Share
Supplies needed for this project:
- Epoxy resin
- Circle silicone mold
- Halloween confetti
- Black resin dye
- Violet resin dye
- Orange resin dye
- Purple iridescent glitter
- Chunky iridescent orange glitter
Instructions
Start by pouring a layer of resin into your silicone mold and start embedding the Halloween confetti.
Then wait for the resin to harden.

Prepare a batch of resin and divide it into 3 mixing cups. In one cup add 1 drop of black resin dye, in another add 2 drops of violet resin dye along with some iridescent purple glitter, and in the third mixing cup add 2 drops of orange resin dye.
Mix each cup well and pour the resin into your mold putting the black and orange colored resin at each end and the violet in the middle.
I also opted to add chunky iridescent glitter into the orange part once I was finished from pouring all the resin into the mold. I chose to add the glitter at this stage as otherwise it tends to fall at the bottom of the mixing cup since it was of the chunky kind.

Wait for the resin to cure and de-mold your resin charm from the silicone mold.


Then add a layer of resin on top of your charm to dome it and make it shiny.

Once the doming layer has fully cured, your resin charm is complete.

View the video here
