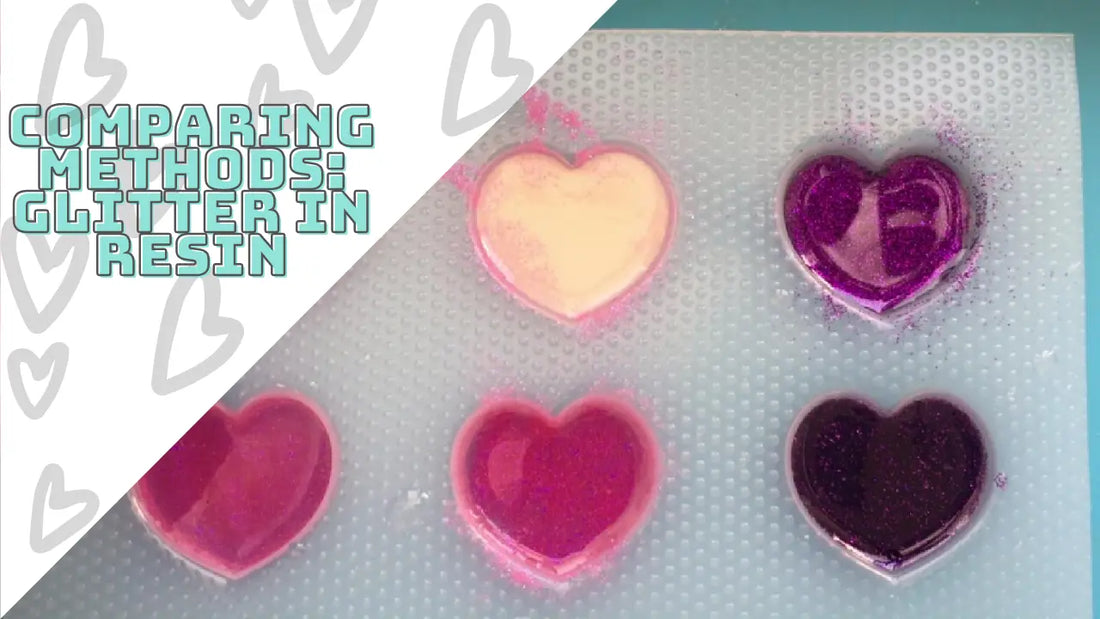
How to use glitter in resin - comparing methods
Share
You can add glitter to your resin projects in two ways:
- Dusting glitter onto your uncured resin layer, or
- Mixing the glitter into your resin
Each method will give you different results and I will be going through both methods to show you how.
Dusting glitter onto resin
How: Add a clear layer of resin into your mold. Let it set a bit. For best results wait until your resin starts to become tacky/jellyish. Keep in mind that you need it to be sticky so that the glitter will stick to it, so don't wait too long. On the other hand, if you do this too early the glitter will "run" and spread all over and you will have no control over it (you especially don't want this at all if you are using more than one colored glitter).
When the resin is at the tacky/jellyish stage start adding your glitter by dusting it on (see photo below or video linked at the end of this blog post).

Results: Once the first layer has cured or has become in a solid state, add the second layer of resin. In this case a clear layer of resin was added. The result can be seen in the photo below.


I highly recommend adding a second layer so that the glitter is sealed in. Otherwise your resin charm might lose all it's glitter by time. Also, if you sell your charms or gift them, the end user might not like having glitter spreading all over their items.
Alternatively you can add white colored resin for the second layer to make the color pop out more.

The result of this can be seen in the photo below.

I like using white or light backs for iridescent glitter, and dark or black backs for metallic / holographic glitter.
The color of the back/final layer that you use will make a difference in your end result. As you can see from the below photo, the white colored back heart (right) has a deeper color to the clear colored back one (left). The same glitter was used for both hearts.

Benefits:
- This method of adding glitter adds texture to your resin charms and the glitter pops out more. The glitter will kind of look fluffy in the resin, which is a nice effect.
- You can add multiple colors and control better the dispersion of color. You will also achieve clearer edges and divide the color equally or as you wish.
Limitations:
- There is a chance to make a mistake if you do not add the glitter at the right time. It's also not ideal to use in UV resin because of this (but you can still use it if you want to).
- The coloring might be uneven, especially in the clear back charm.
- It takes longer to complete a charm. As a minimum you will need to pour two layers: the first to add the resin onto, and the second to seal in the glitter.
Mixing glitter into resin
How: You just need to add glitter to your resin and mix it well, and then pour it into your mold.


You can stop there. Alternatively you can do an extra step and add a solid colored layer of resin when the first layer has cured sufficiently. This will make the color of your first layer pop out more. It's best to use a white or a light color for iridescent glitters, and black or a dark color for metallic or holographic glitters.

Results: I added a clear layer of resin as my first layer to add dimension. This is optional and purely a preference, especially if you will be doming your resin charm afterwards.
When you do not add a colored back to the resin charms, the results are as follows.


Below you can see the result of the charm with the white colored back.

The charm with the white back (left) appears to be lighter and the color pops out more when compared to the charm with no added layer (right).

Benefits:
- This method is very easy and is foolproof since there is no chance for error.
- You get a consistent color all around.
- This method uses up less glitter compared to the other method.
- Its is faster to complete your resin charm - it only requires one layer.
Limitations:
- When you mix the glitter into your resin you will lose the added dimension that the other method provides. It essentially looks the same as when resin pigment has been added but with glitter in it.
- If you want to add more than one color in the same layer you will have less control on the distribution. In this method it will be difficult to divide the colors evenly.
Which method is best?
The method you use is essentially down to your preferences. It might depend on whether you like working with a particular method because you find it easier or because it's faster. Or it might be just because you like the end result better. Or because you need to have a particular end result.
I myself love the effect of the dusted on glitter, but in reality I use both methods equally. The method that I use for a particular charm might depend on whether I'm being lazy (in which case I mix in the glitter) or the end result that I want (I will dust on the glitter for added dimension).

Watch the video here
