Tutorial: Easy 2 layer resin charm
Share
For this project you will need the following supplies:
- 2 inch Star Silicone Mold
- Epoxy resin
- Cobweb & Spider confetti
- Holographic purple chunky glitter
- Iridescent white glitter
- Small iridescent confetti of your choice
- Purple pearl pigment resin dye
- Nail art silicone brushes / wooden sticks & wooden tootpicks
Instructions
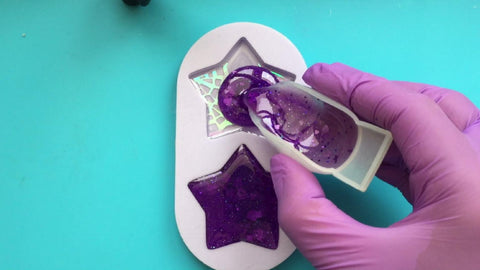
Step 1: Pour a clear layer of epoxy resin into your silicone mold.

Step 2: Right away add your cobweb and spider confetti into the uncured resin.
Then let the first layer to cure. As a minimum wait until the resin has become nearly solid before you proceed to the next step. Otherwise, the resin layers might mix and you will lose the effect along with all your hard work.

Step 3: Prepare your epoxy resin as per brand instructions. Then add: purple pearl resin pigment, holographic purple chunky glitter, iridescent white glitter, and confetti shapes of your choice.

Step 4: Pour your resin mix into your mold and wait for the resin to fully cure.

Step 5: De-mold your resin from the silicone mold.

Step 6: Prepare a small amount of epoxy resin (mix as per brand instructions), and dome your resin charms.
Add a small amount of resin at a time to avoid an over-spill. The aim here is to create a bubble (dome) effect, so you need the resin to retain the tension. Adding a drop more than needed will break this tension.
First add a small amount of resin on top of your resin charm, and move the resin towards the edges using a silicone tool or a wooden stick. Then add very small amounts to the middle as needed. Always add very small amounts at a time.
When you are ready, wait for the resin to cure.

When the doming layer has fully cured your resin charms are ready and should be super shiny.

Watch the video here
